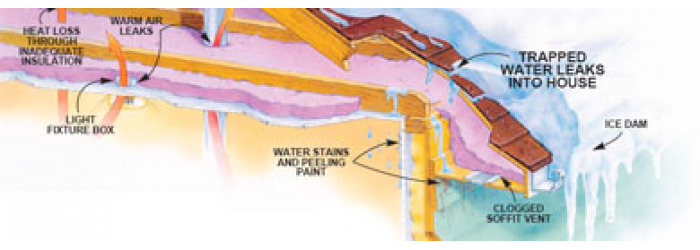
By TrimBender.com , Posted Wednesday, 29 February
I recently received a call from a friend of mine telling me that he had a water leak underneath his toilet. The water was leaking along the water pipe the supplied water to the toilet and around the sub floor. So right away we assumed the....
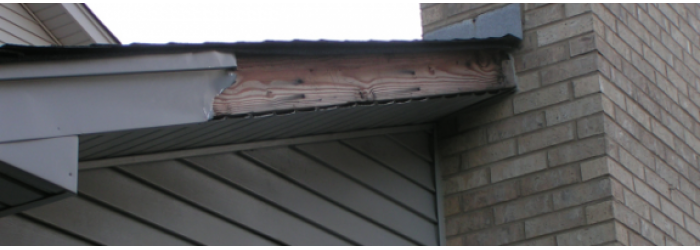
By TrimBender.com , Posted Wednesday, 29 February
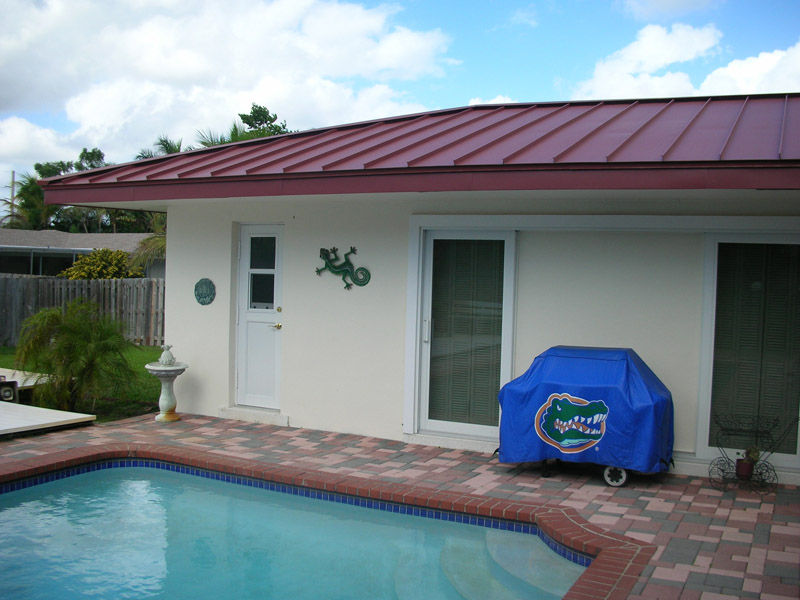
Nothing is worse then a bad wind storm that tears part of your aluminum trim off. Not only do you have to find someone that can replace the piece but you also have to match the color. That where we come into play. You would be surprised but...
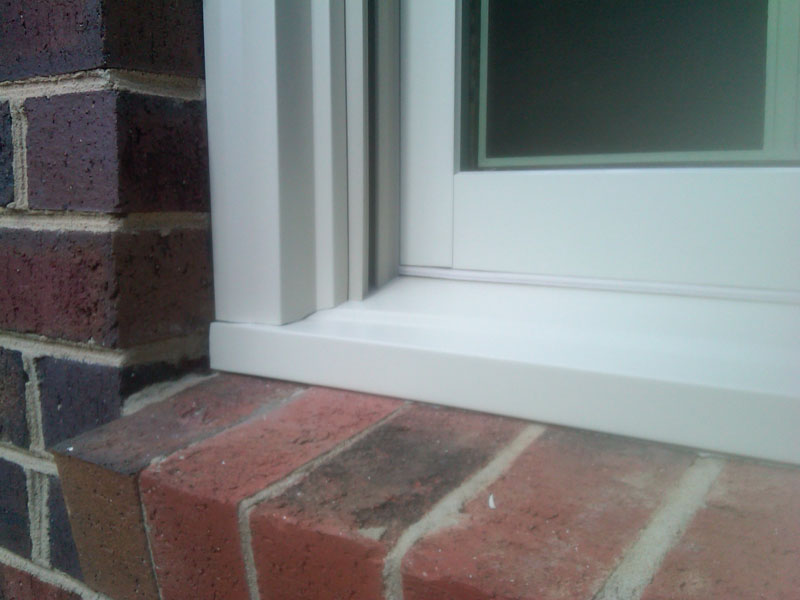
By TrimBender.com , Posted Wednesday, 29 February
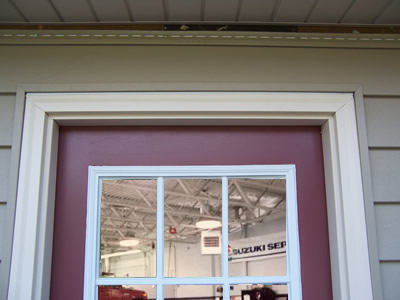
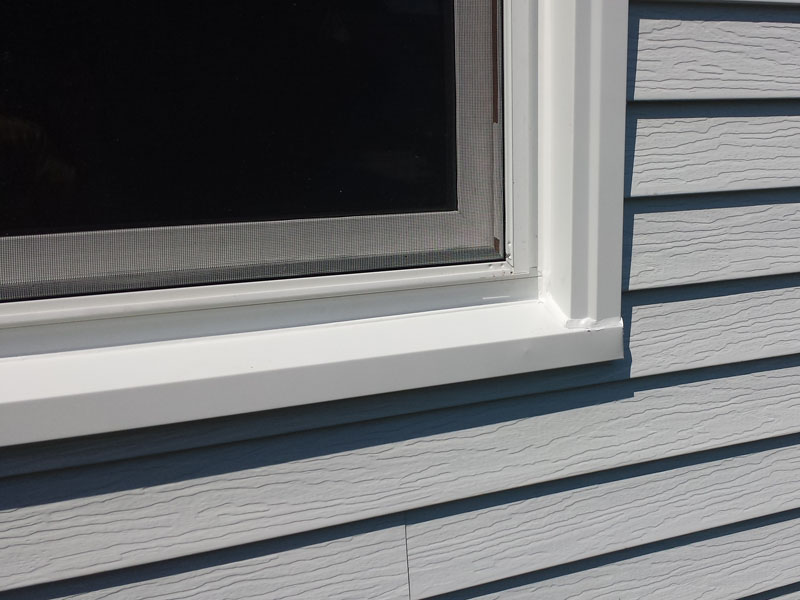
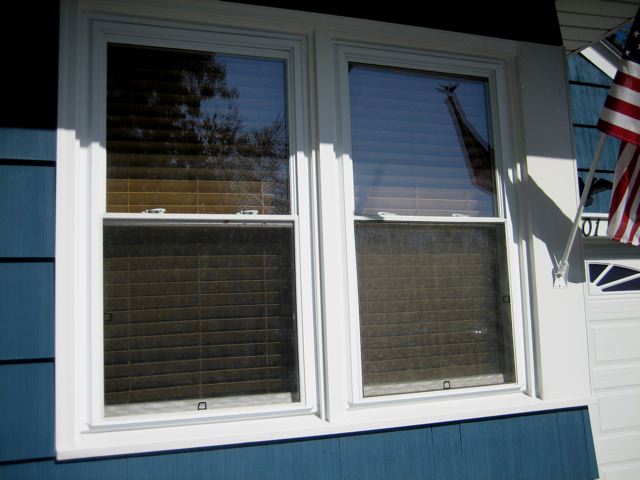
Any entrance can have a fresh and inviting look with new aluminum door trim. Now you can do it yourself, whether it be a new door or old, with our step by step guide on installing your door trim.


 />
/>  />
/>  />
/>  />
/>  />
/>  />
/>